Command Line Upload and Download
Prerequisites
- A valid MatrixHub account.
- Joined the target public project. Downloading models requires Project Admin, Editor, or Viewer permissions; uploading models requires Project Admin or Editor permissions.
- To use a proxy project, an available target registry must already exist. To create one, see Registry Management.
- Hugging Face CLI installed locally (
hfcommand available). - Network access to the MatrixHub service endpoint.
Uploading Models
Uploading models can only be performed by project Admins and Editors.
-
Log in to the platform, go to Project Management, and select the target project.
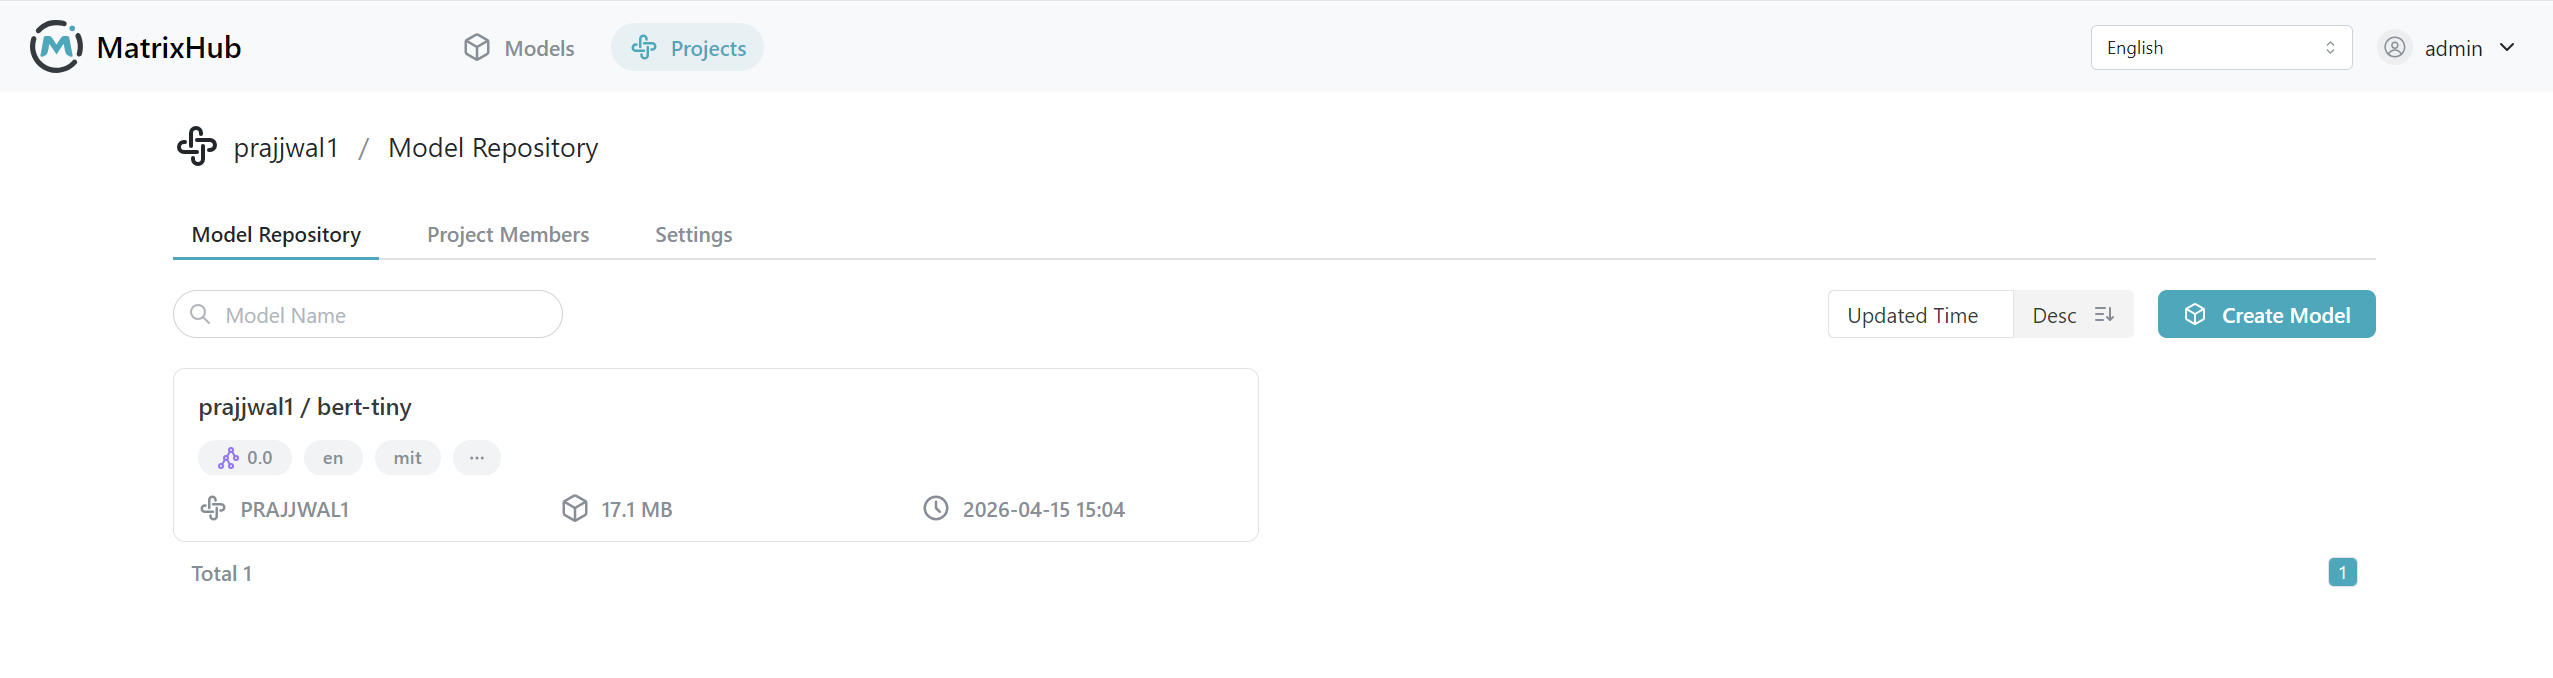
-
Open the Model Repository tab and click Create Model.
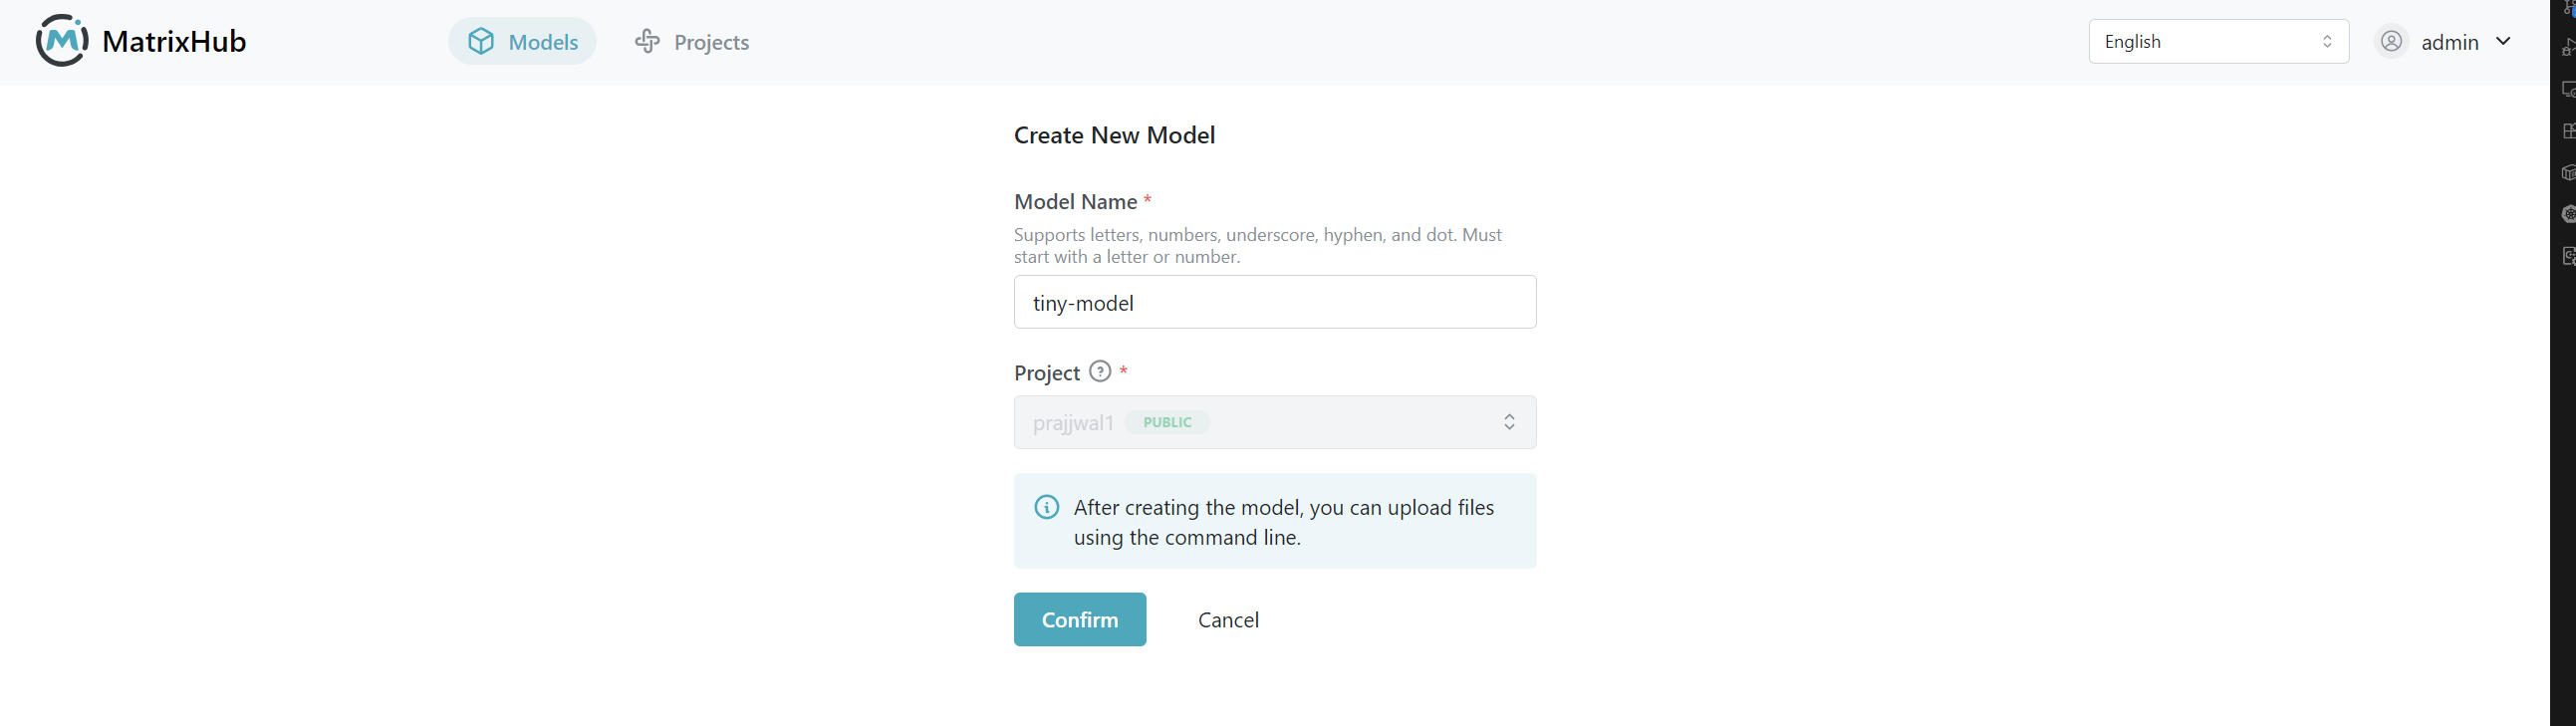
-
Fill in the model name, confirm creation, and enter the model details page.
-
Configure the service endpoint in your local terminal.
export HF_ENDPOINT="https://<your-matrixhub-endpoint>" -
Use
hf uploadto upload the local model directory.hf upload <project-name>/<model-name> ./<local-model-dir> . -
Return to the model details page and refresh to confirm the uploaded files appear in the list.
- If the model name is already taken, please choose a different name and try again.
- Uploading large models for the first time may take a while; please wait for the command to complete.
Downloading Models
Downloading models can be performed by project Admins, Editors, and Viewers.
-
Enter the target model details page and click Download Model.
-
Copy the download command from the popup and execute it in your local terminal.
export HF_ENDPOINT="https://<your-matrixhub-endpoint>"hf download <project-name>/<model-name> -
After the command completes, the terminal will output the download directory path.
-
Open the local download directory and verify that the model files are complete and usable.
Proxy Project Download
-
Create a proxy project first (e.g.,
Qwen).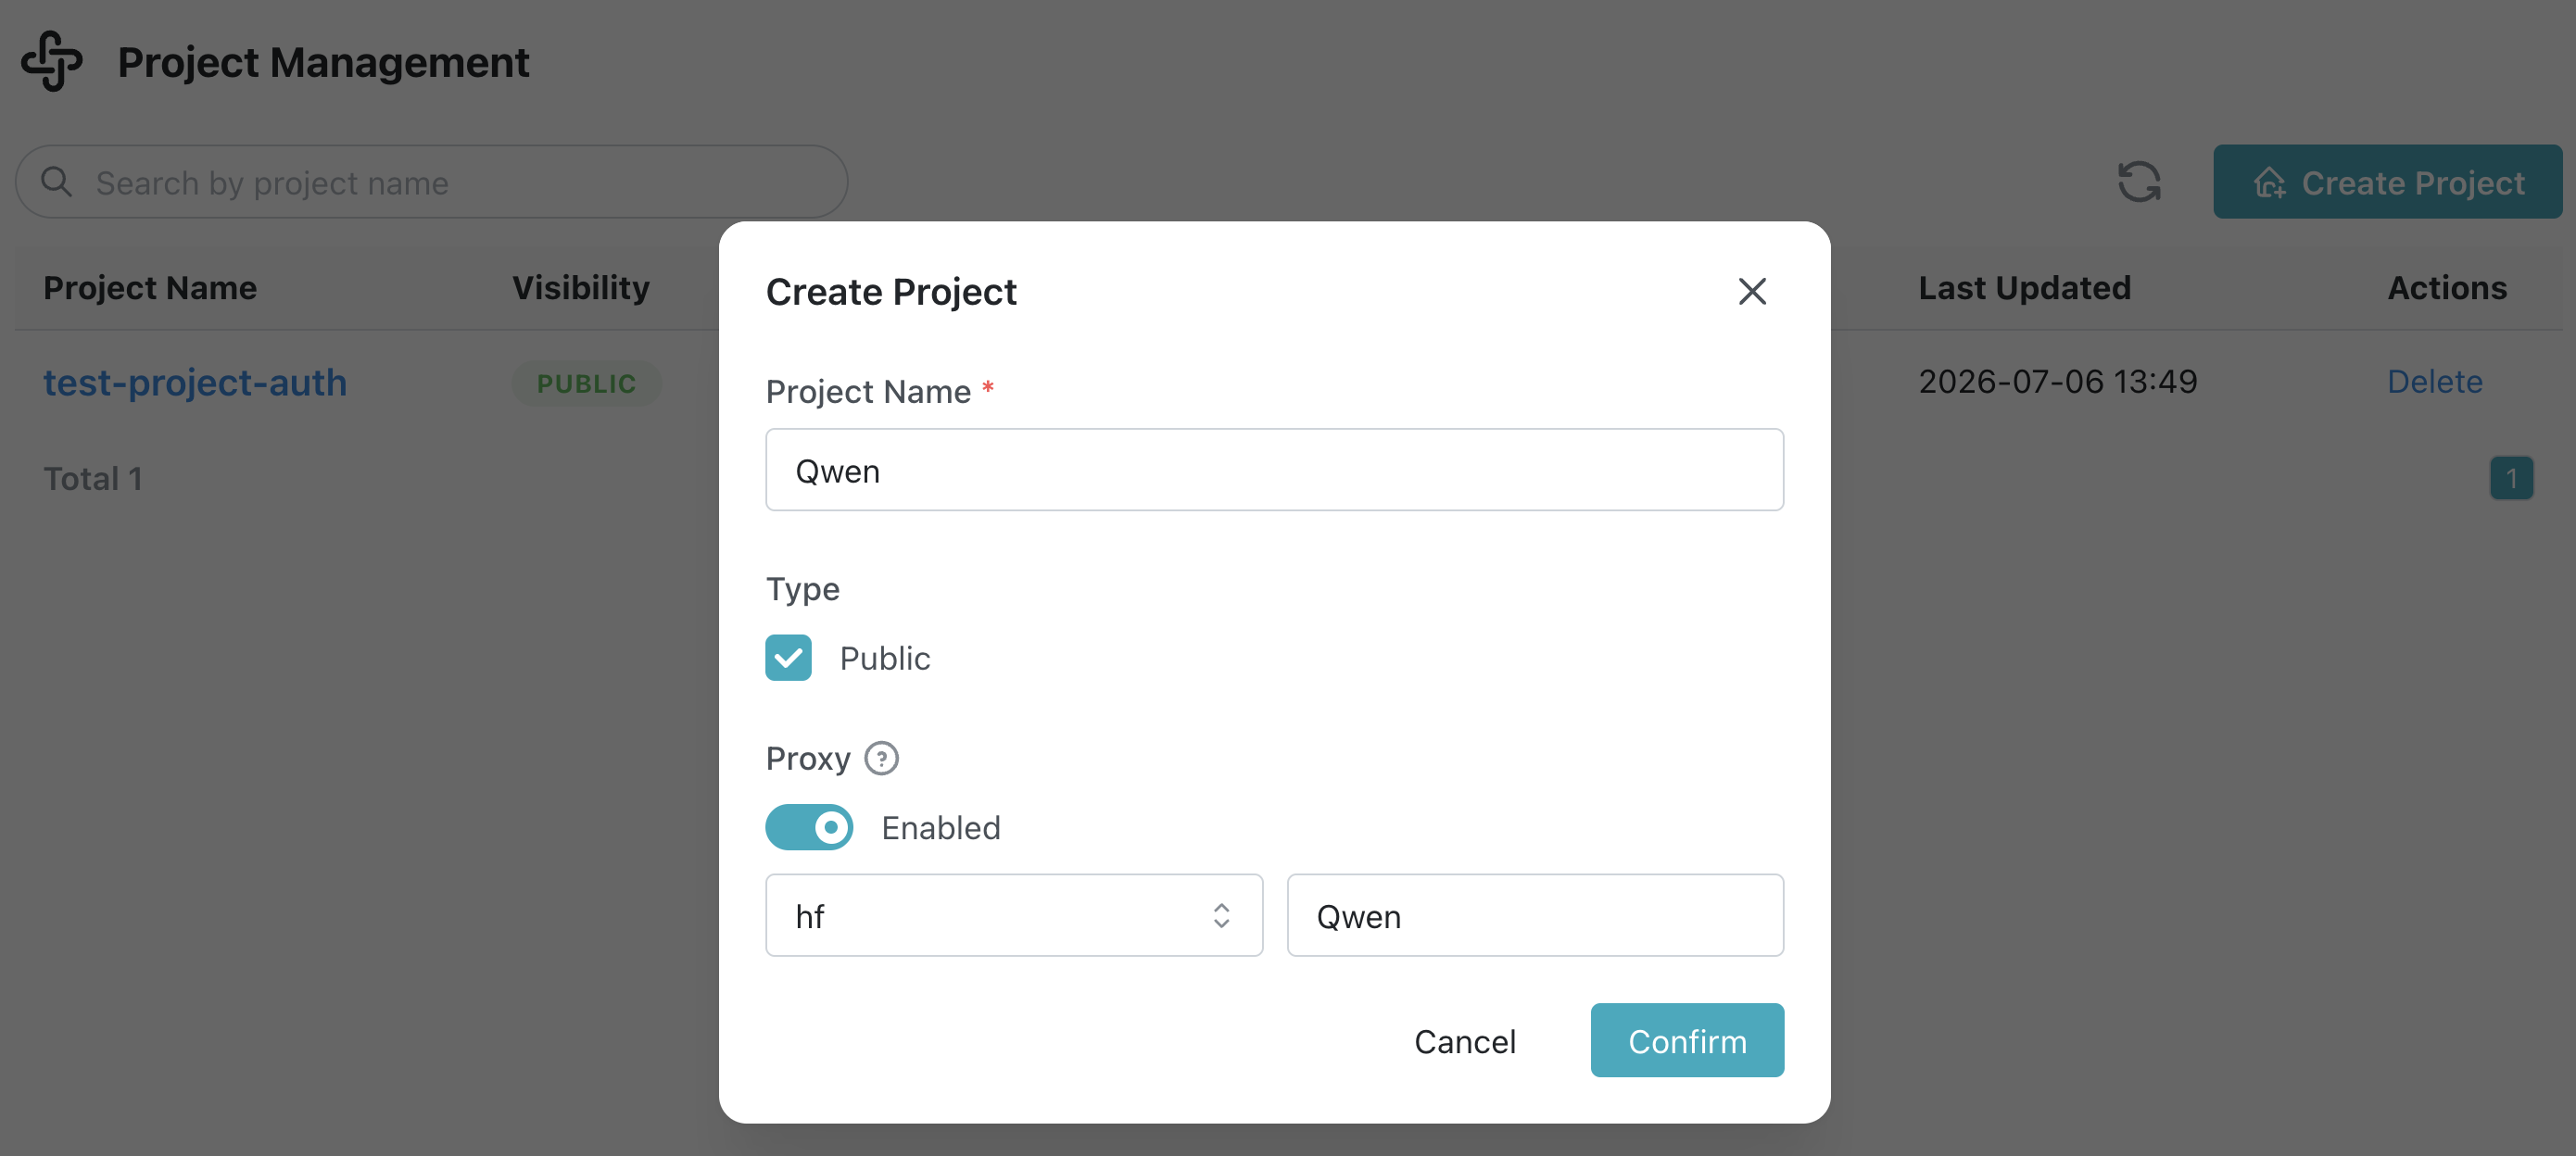
-
Configure the MatrixHub service endpoint. MatrixHub accesses the configured target registry through the proxy project.
export HF_ENDPOINT="https://<your-matrixhub-endpoint>" -
Download a model from the proxy project (example).
hf download Qwen/Qwen3-0.6B
- Once the proxy project is created, you can access models in the target registry through MatrixHub using
hf download. - Proxy projects do not support
hf upload.
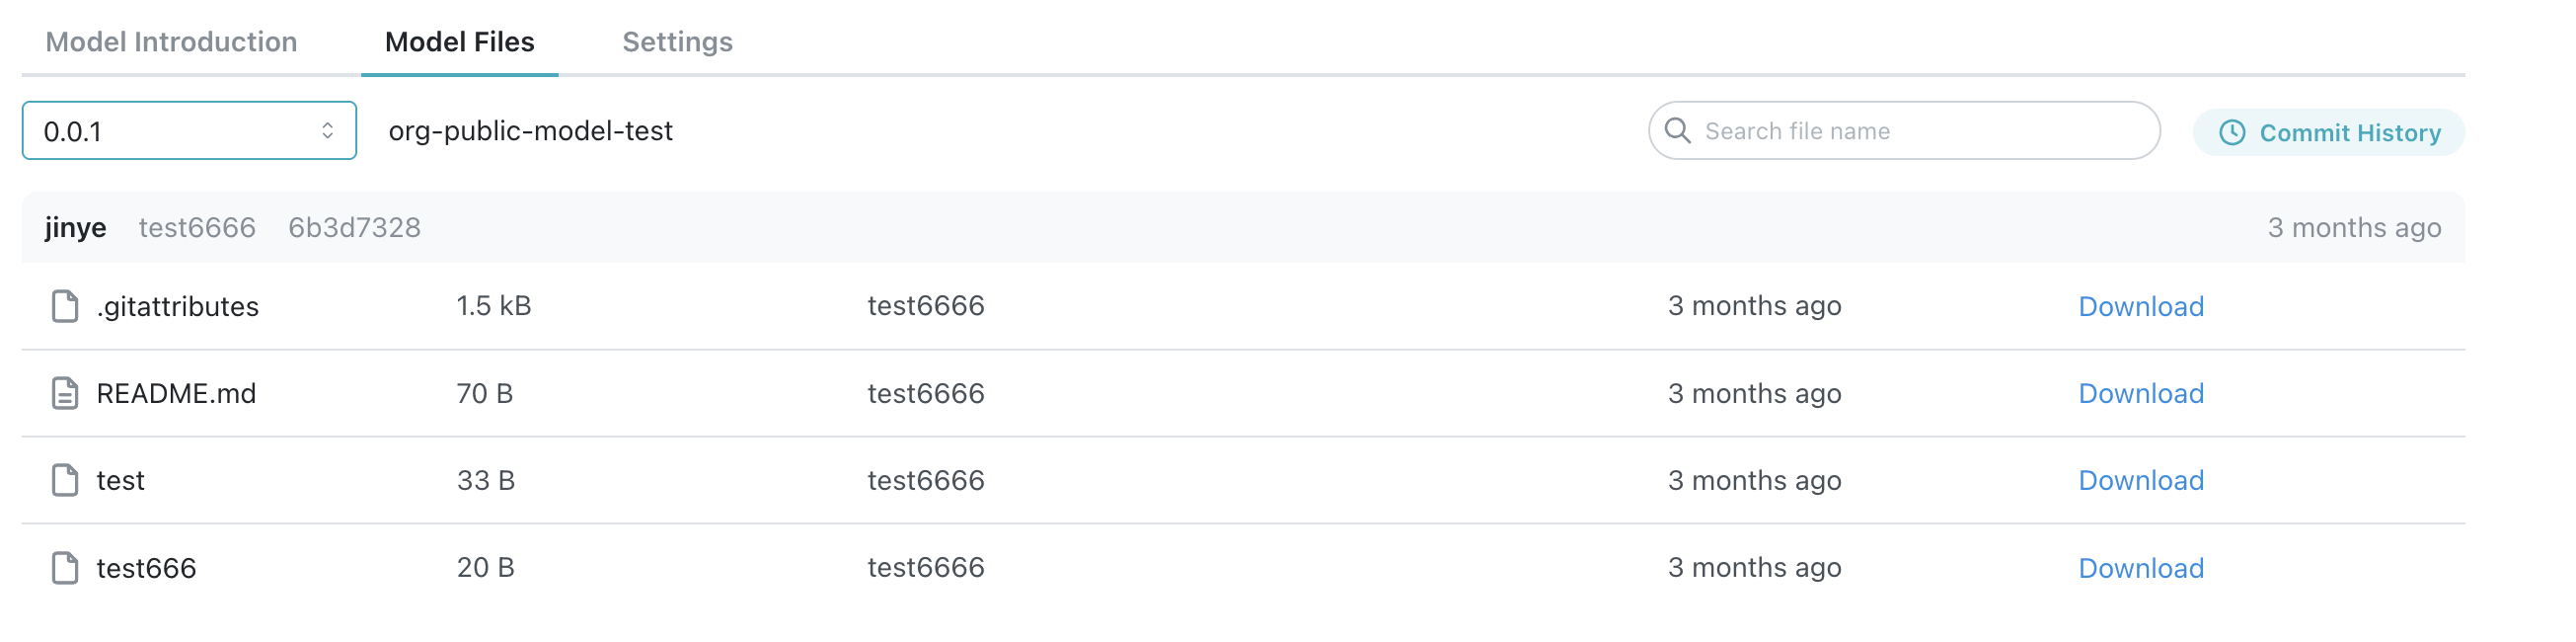
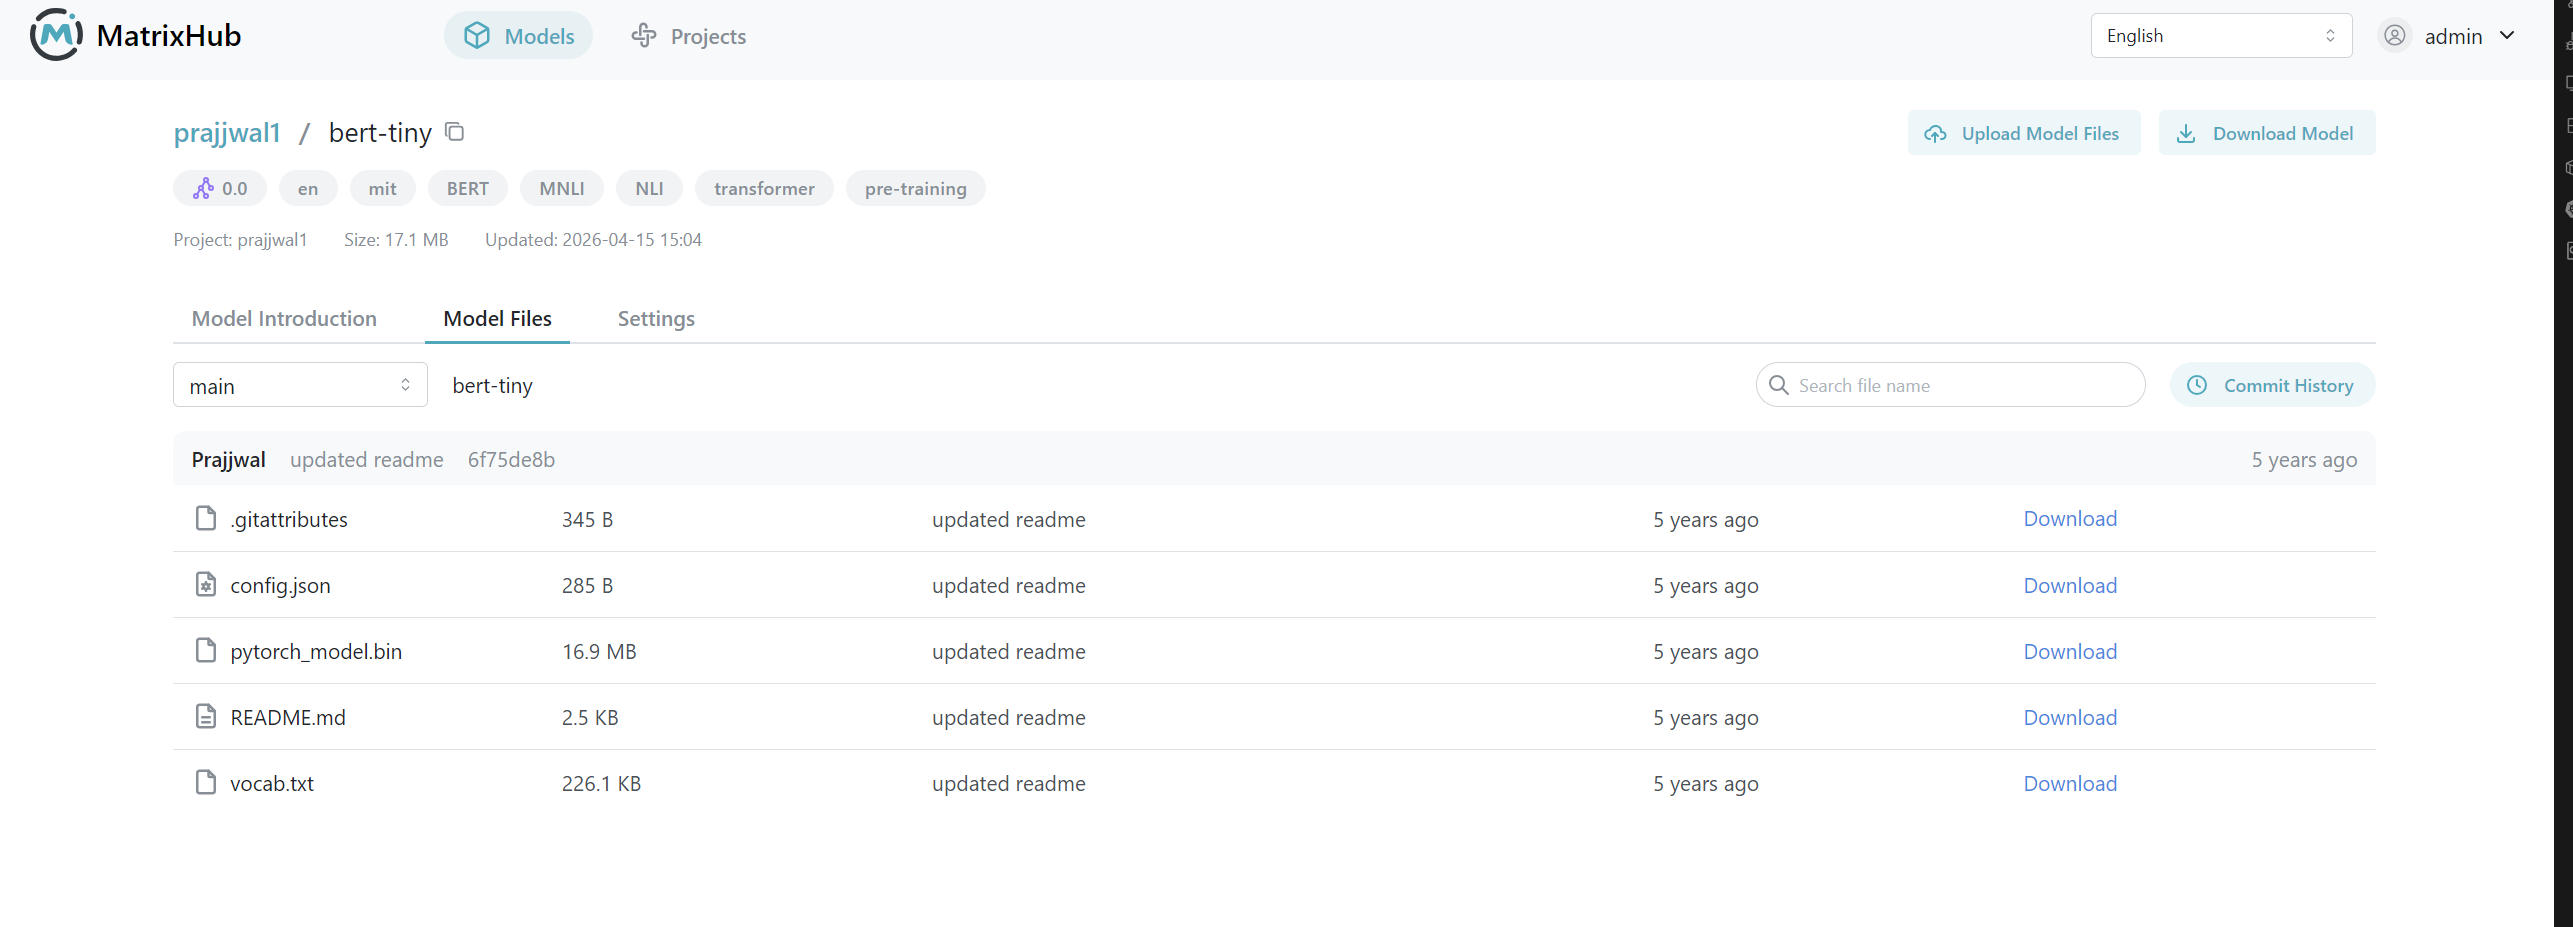
Model Files
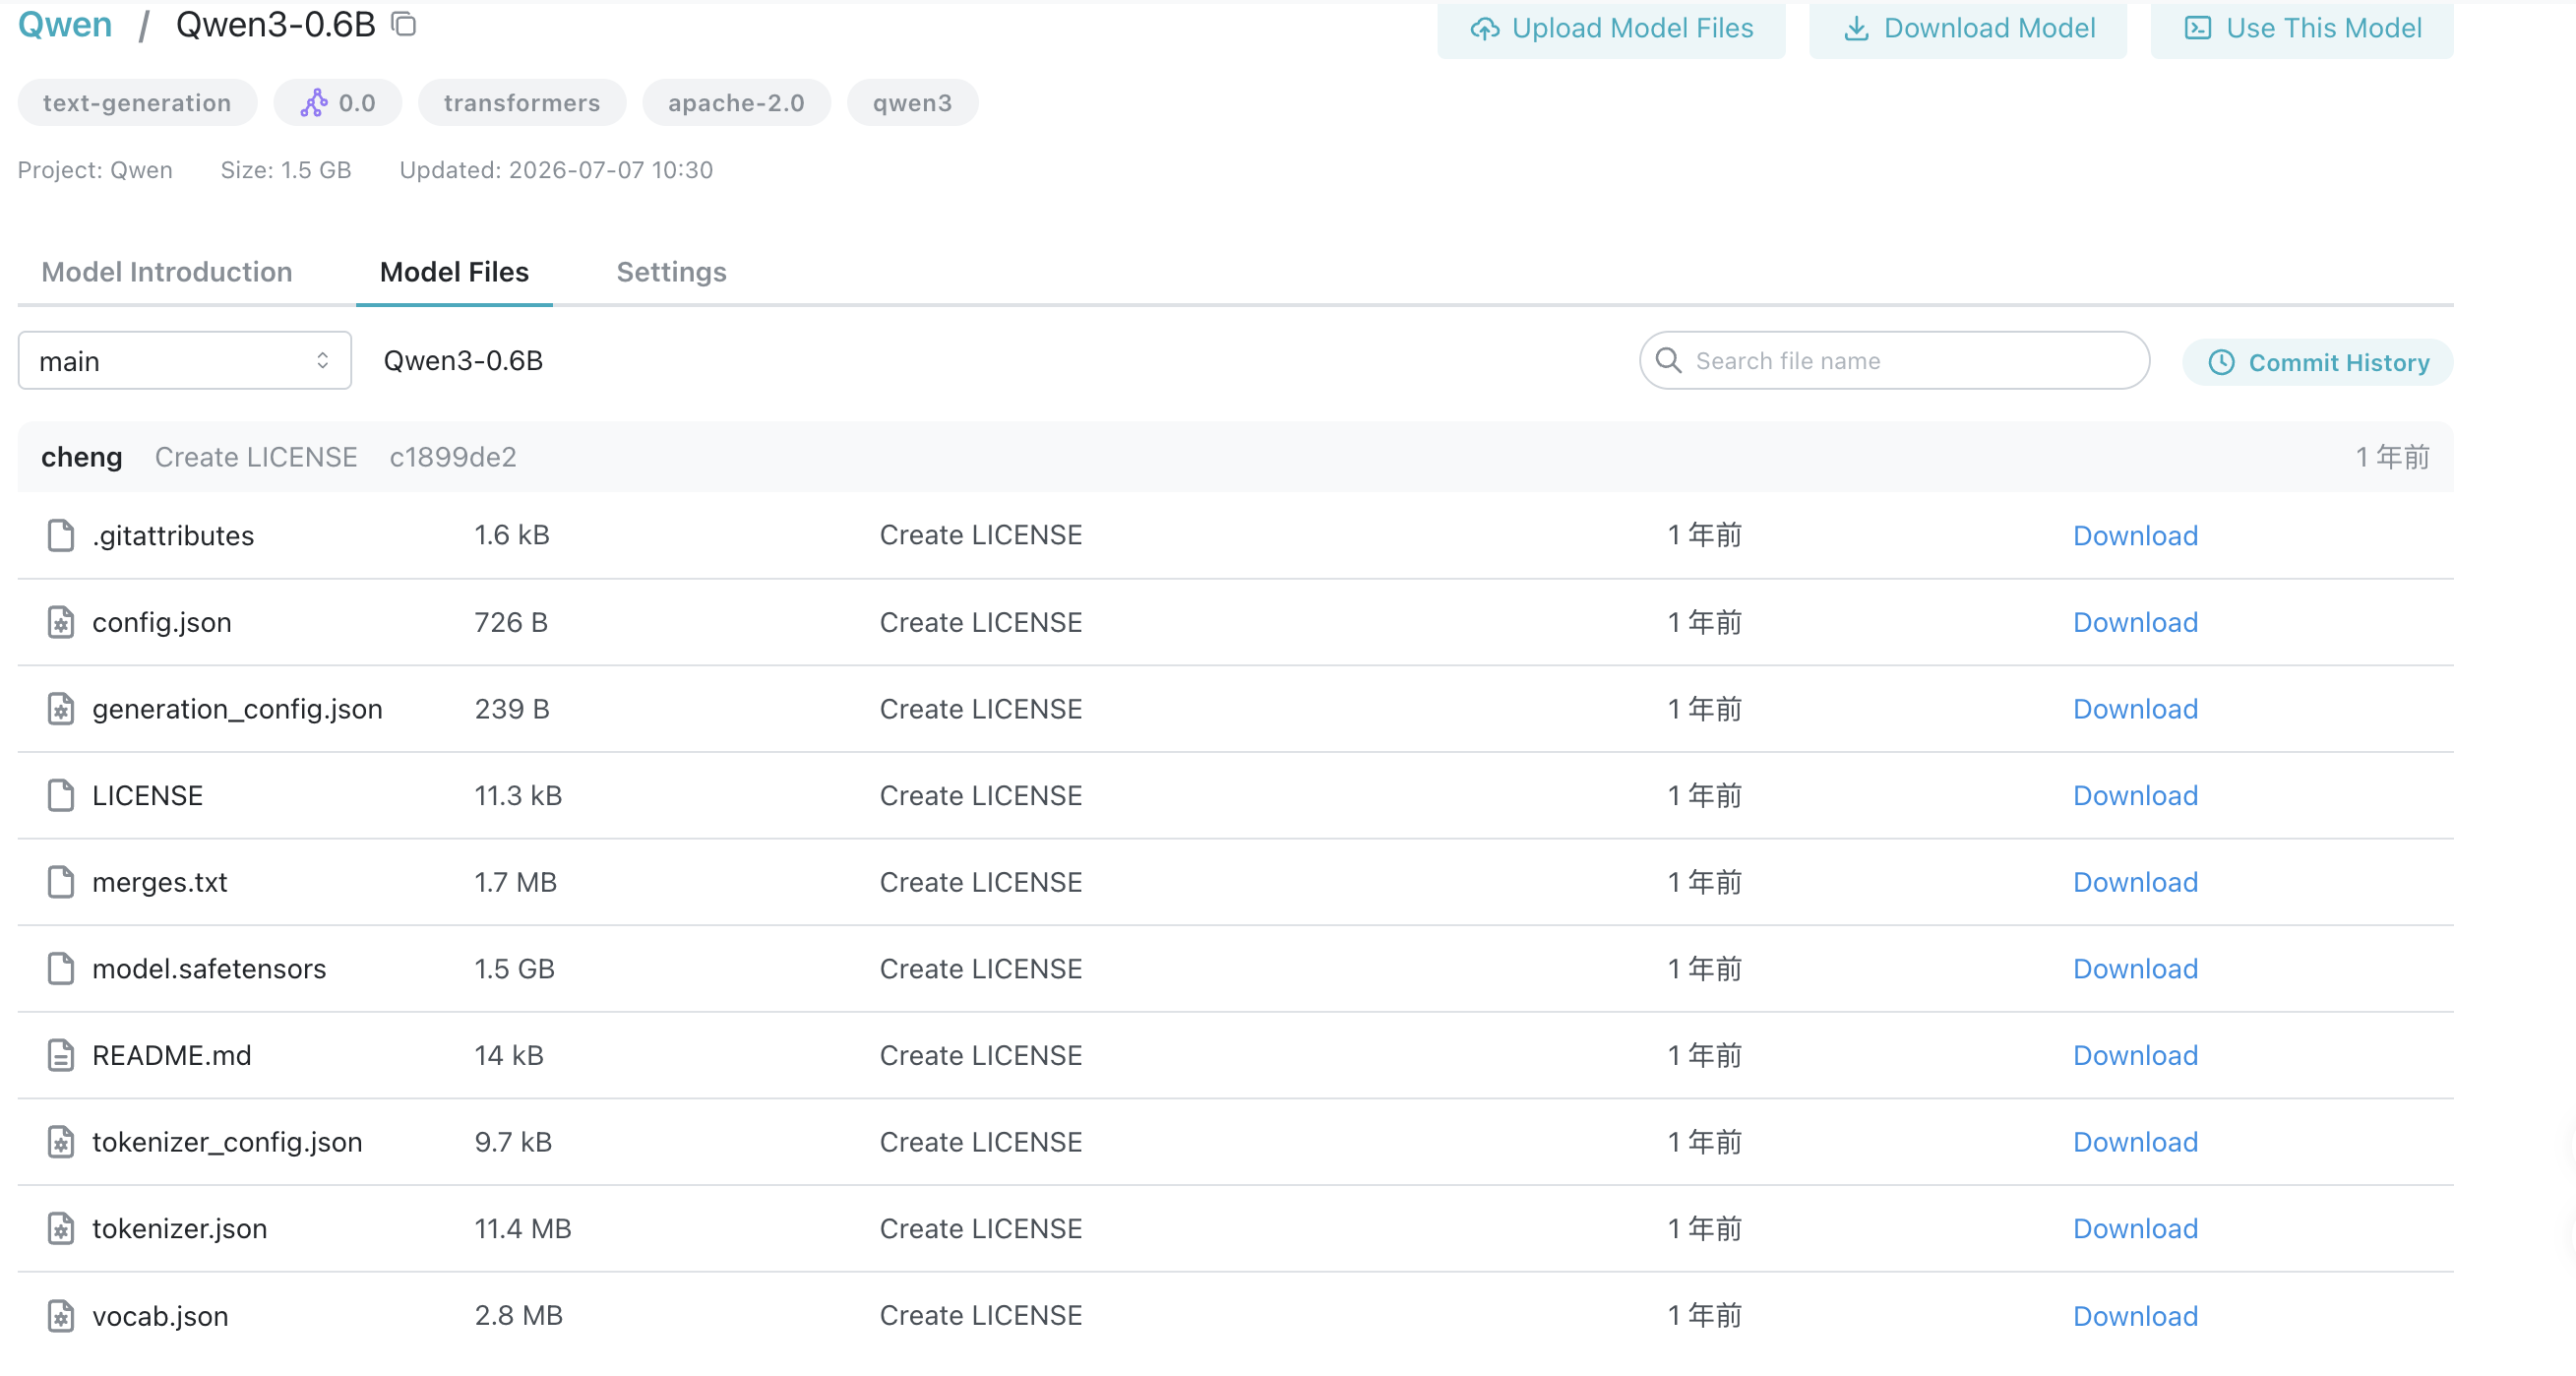
Downloading Single Model Files
- Enter the model details page and switch to the Model Files tab.
- Click Download on the target file's row.
- After the browser completes the download, open the file to verify the content.
File Search and Browsing
- Use the search box in the Model Files page to enter keywords (e.g.,
.git,tokenizer). - Observe the filtered results to ensure the returned files match expectations.
- If there are many files, click Load More to view the full list.
Branch/Version Switching
-
Enter the Model Files page of the model details.
-
Select the target branch in the branch selector (for example,
main,0.0.1, or0.0.2).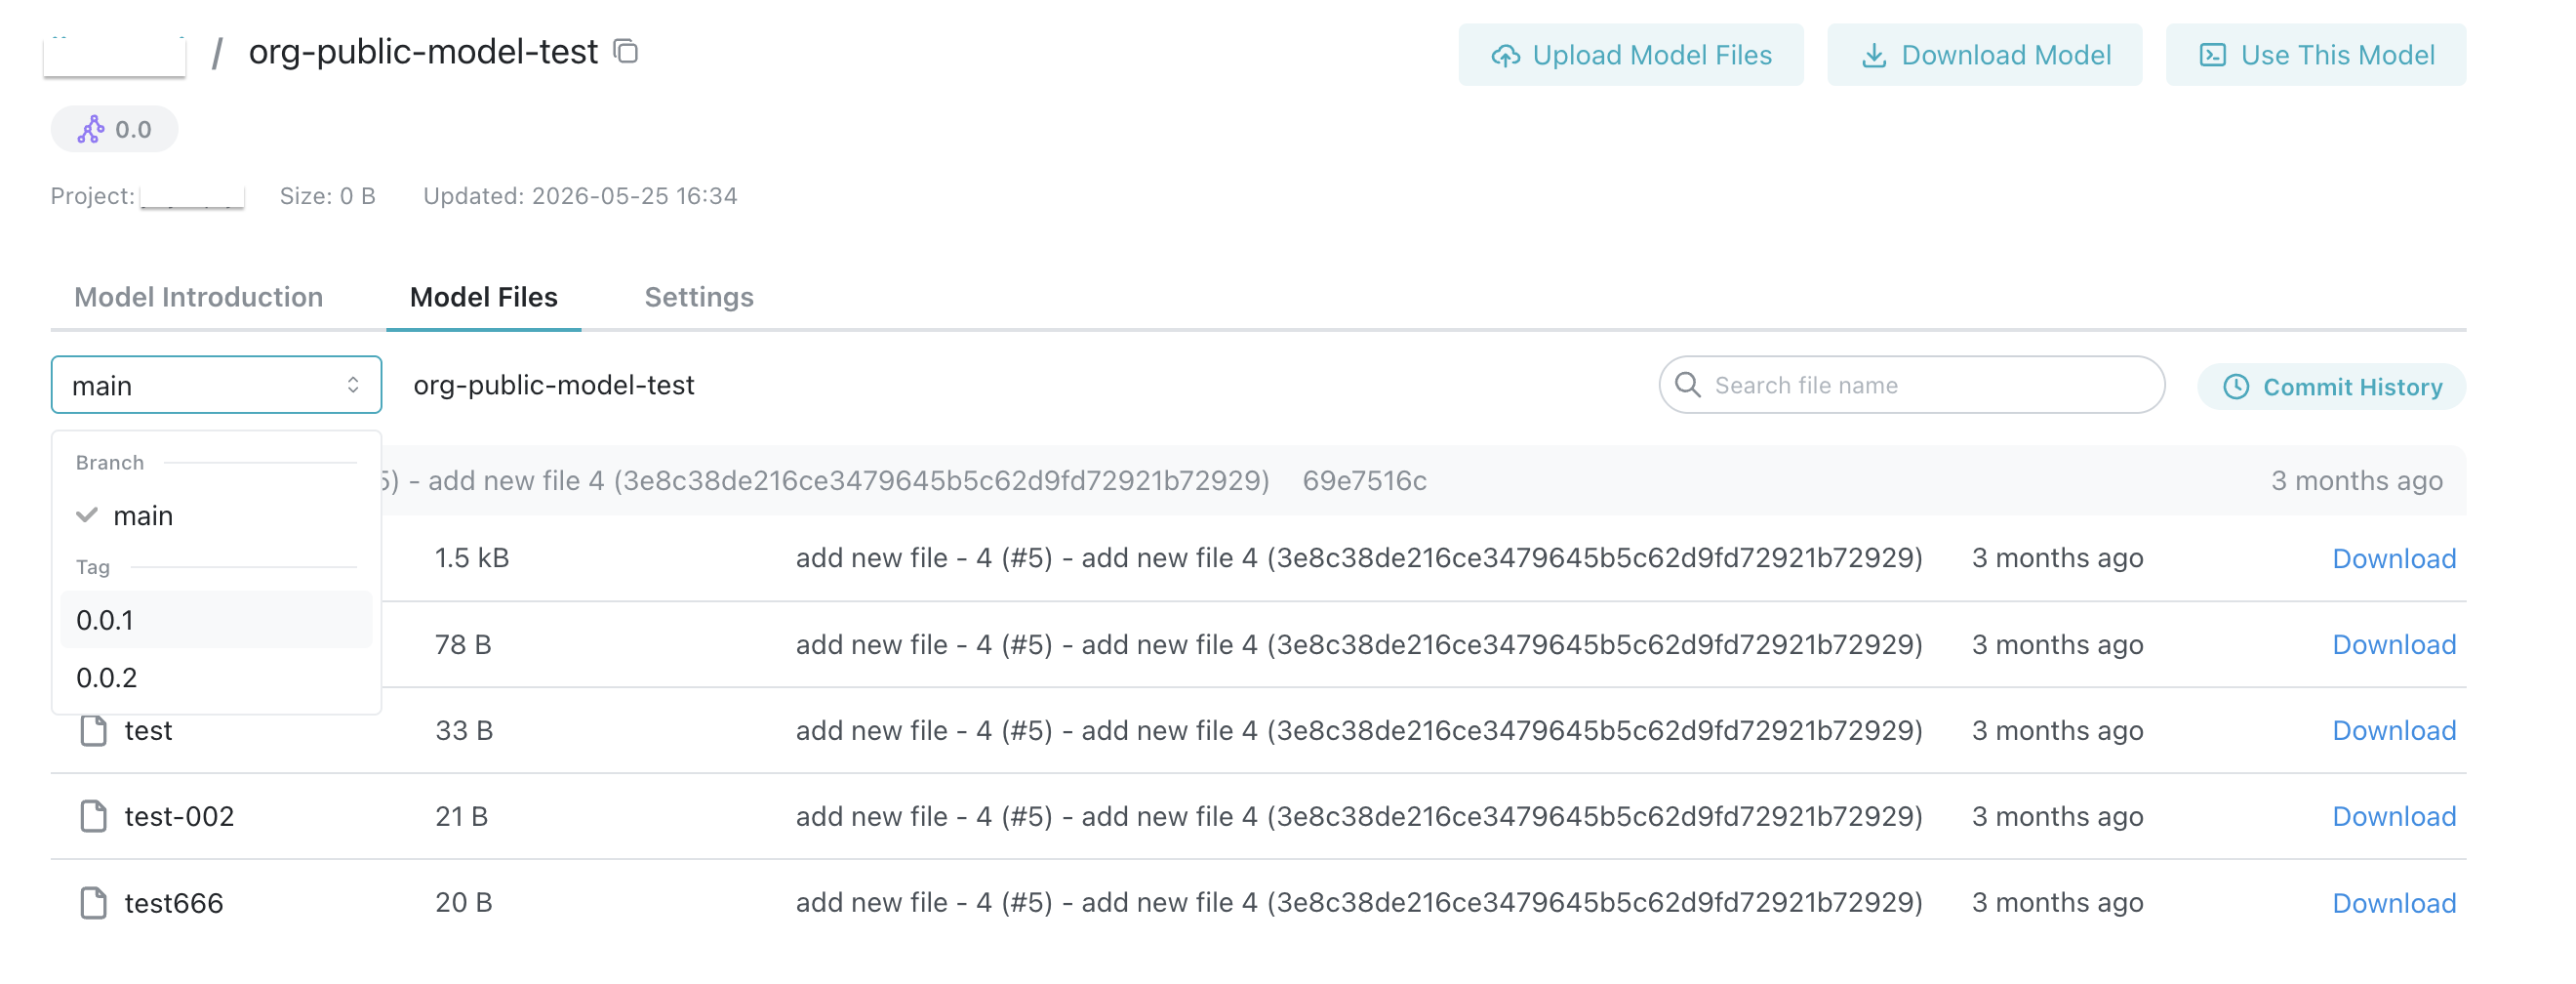
-
Verify that the file list after switching matches the content of that branch.